Paul
Jun 18, 2024
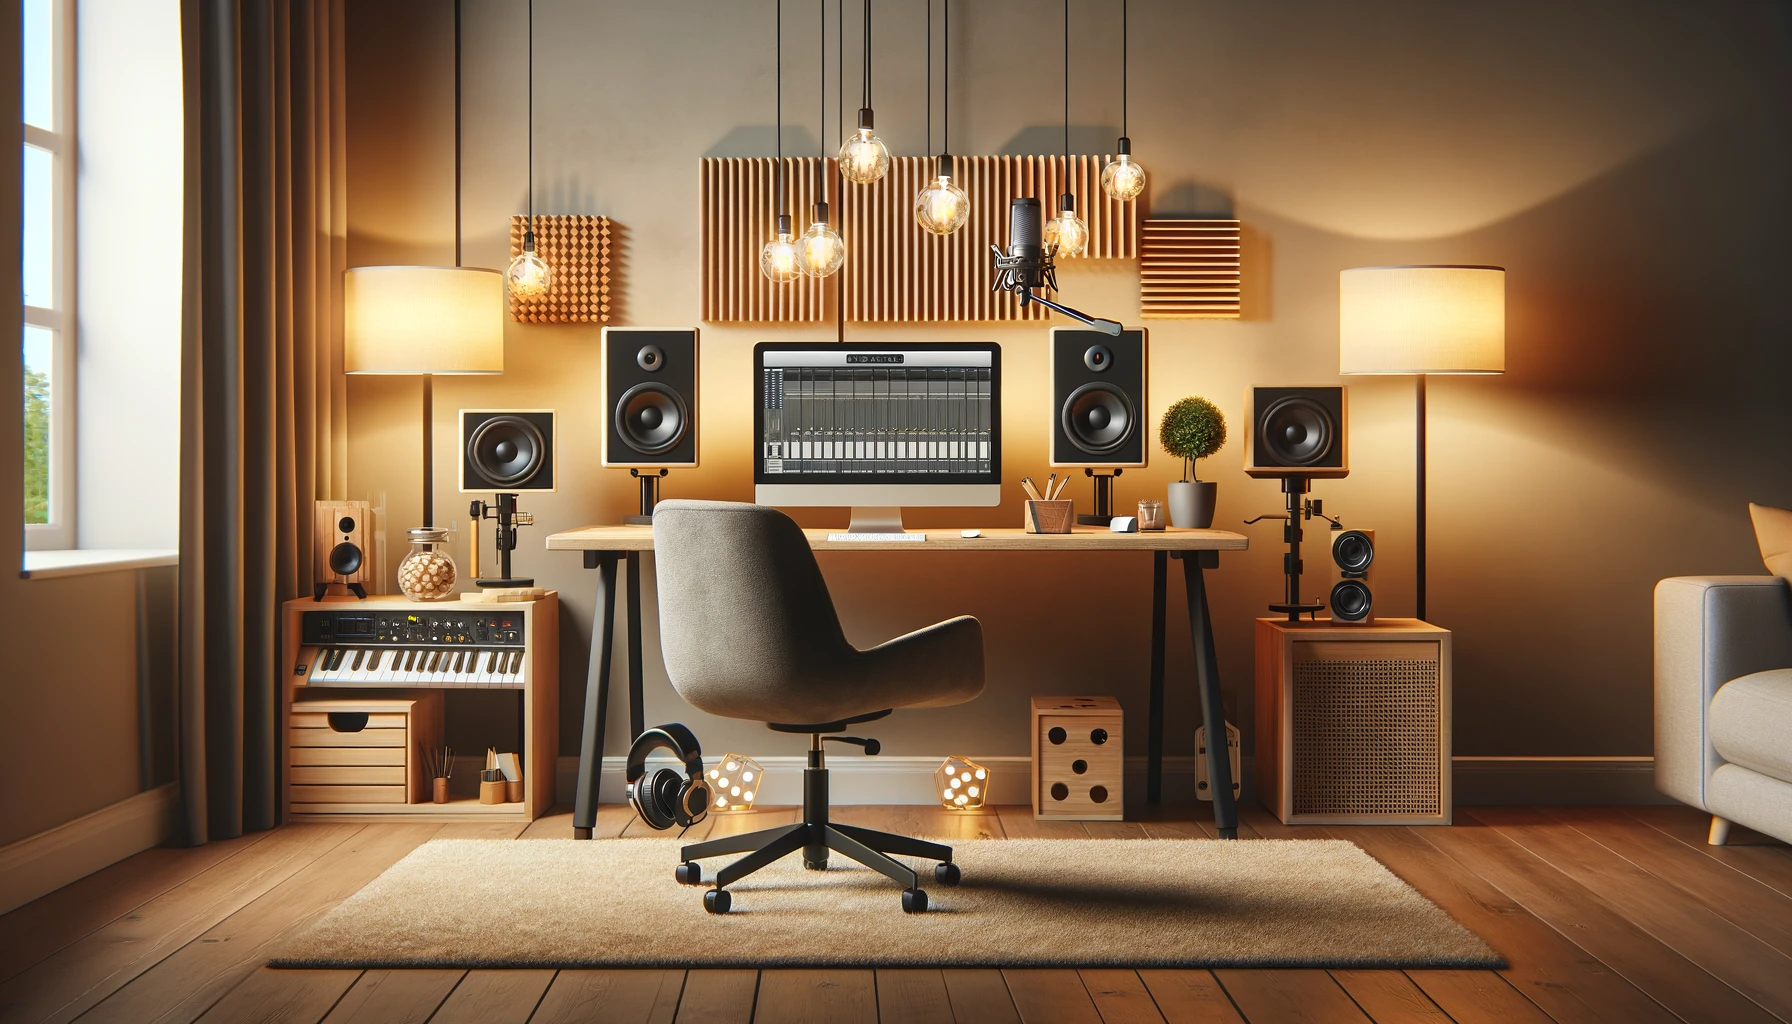
Setting up a great home recording studio doesn’t have to empty your wallet. This article is your blueprint on how to build a home recording studio on a budget, detailing exactly which essentials you need and where you can save. Expect practical advice on choosing equipment, optimizing your space for sound, and techniques to stretch every dollar. Tap into our budget-conscious approach to transform any room into a personal music haven.
Key Takeaways
- Craft a clear budget for your home recording studio, starting at $500 for basic setups and potentially exceeding $5,000 for professional quality, prioritizing essential gear over luxuries.
- Invest in core studio equipment like a compatible computer, DAW, audio interface, monitors or headphones, and versatile microphones such as the Audio-Technica AT2020 or Rode NT1-A for recording.
- Enhance your studio with strategic purchases like quality cables, stands, MIDI controllers, and focus on room acoustics for accurate sound while keeping your computer optimized and your samples well-organized for efficiency.
Crafting Your Budget for a Home Recording Studio
Before diving into the world of compressors and condenser microphones, it’s essential to strike the right chord with your budget. Crafting a budget for your home recording studio is like tuning a guitar; it sets the foundation for the melody of your music production journey. A well-planned budget not only prevents the dissonance of overspending but also ensures that your resources resonate harmoniously with your needs, allowing you to make sweet music without financial frets.
Determining Your Financial Limits
Let’s face the music: financial self-assessment can be as tricky as hitting that high note. But it’s crucial before you start splurging on shiny studio gear. Assess your wallet’s rhythm and focus your budget on equipment that will truly enhance your sound.
This means avoiding the allure of unnecessary gadgets that promise to make you sound like a rockstar overnight. Prioritize purchases that will strike the right note with your current skills and understanding.
Expected Cost Range
Setting up your first studio doesn’t have to mean spending a fortune. A basic home recording studio can harmonize with a budget between $500 and $1,500. As you scale up the octaves to an intermediate level, additional investments of around $1,475 should be music to your ears.
For those aspiring to a symphony of advanced features, a high-quality setup starts at $3,000, with professional-quality studios harmonizing between $5,000 and $10,000.
| 🎤 Basic Setup | 🎛️ Intermediate Setup | 🎚️ Professional Setup |
|---|---|---|
| - Price Range: $500 - $1,500 - Perfect for beginners - Includes essential gear like a microphone, audio interface, and basic recording software. | - Price Range: $1,500 - $3,000 - Ideal for those with some experience - Adds better microphones, monitors, and more advanced recording software. | - Price Range: $3,000 - $10,000 - For the serious producer - Includes high-end gear, professional-grade software, and acoustic treatment for your studio. |
Essential Equipment for Your First Studio
Now that the financial stage is set, let’s orchestrate your home studio setup with essential equipment. Think of your studio as an ensemble where each piece plays a pivotal role. The cornerstone instruments in your home recording studio include:
- A computer that doesn’t miss a beat
- A Digital Audio Workstation (DAW) to conduct your compositions
- An audio interface to bridge your gear with the digital world
- Monitors or headphones for clear feedback
- Microphones that capture your artistry with clarity
Choosing a Digital Audio Workstation (DAW)
When setting up a home studio, one of the most critical decisions you’ll make is choosing a Digital Audio Workstation (DAW). A DAW is a software application used for recording, editing, mixing, and producing audio files. It acts as the control center for your music production, allowing you to orchestrate every track, effect, and edit. Here’s a simplified guide to help beginners choose the right DAW.
Key Factors to Consider
| 🏷️ Affordability | Opt for a DAW that fits your budget. |
| 🖥️ User-Friendliness | Look for a DAW with an intuitive interface, especially if you’re new to music production. |
| 💻 Operating System Compatibility | Ensure the DAW supports your computer’s operating system. |
| 🔄 Updates and Support | Choose a DAW that receives regular updates and offers good customer support. |
Recommended DAWs for Beginners
Choosing the right DAW is crucial for your music production journey. Beginners should start with a DAW that is user-friendly, affordable, and compatible with their operating system. GarageBand and Soundtrap are excellent choices for ease of use and accessibility, while Studio One and Reaper offer more advanced features and flexibility as you grow more experienced.
| DAW | Platform | Description | Use Case |
|---|---|---|---|
| 🎹 GarageBand | macOS, iOS | Free DAW exclusive to Apple devices. User-friendly with built-in loops and instruments. | Ideal for beginners with Mac, iPhone, or iPad for simple projects. |
| 🌐 Soundtrap | Windows, macOS, ChromeOS, iOS, Android | Cloud-based DAW accessible from any device with internet. Known for ease of use and collaboration features. | Perfect for beginners needing flexibility and online collaboration. |
| 🎛️ Studio One | Windows, macOS | Offers a free version (Studio One Prime) with a robust set of tools and a drag-and-drop interface. | Suitable for users wanting a feature-rich DAW that can grow with their skills. |
| 🛠️ Reaper | Windows, macOS, Linux | Highly customizable DAW with a full-featured evaluation version, affordable and powerful. | Ideal for users who want extensive customization options and don't mind a learning curve. |
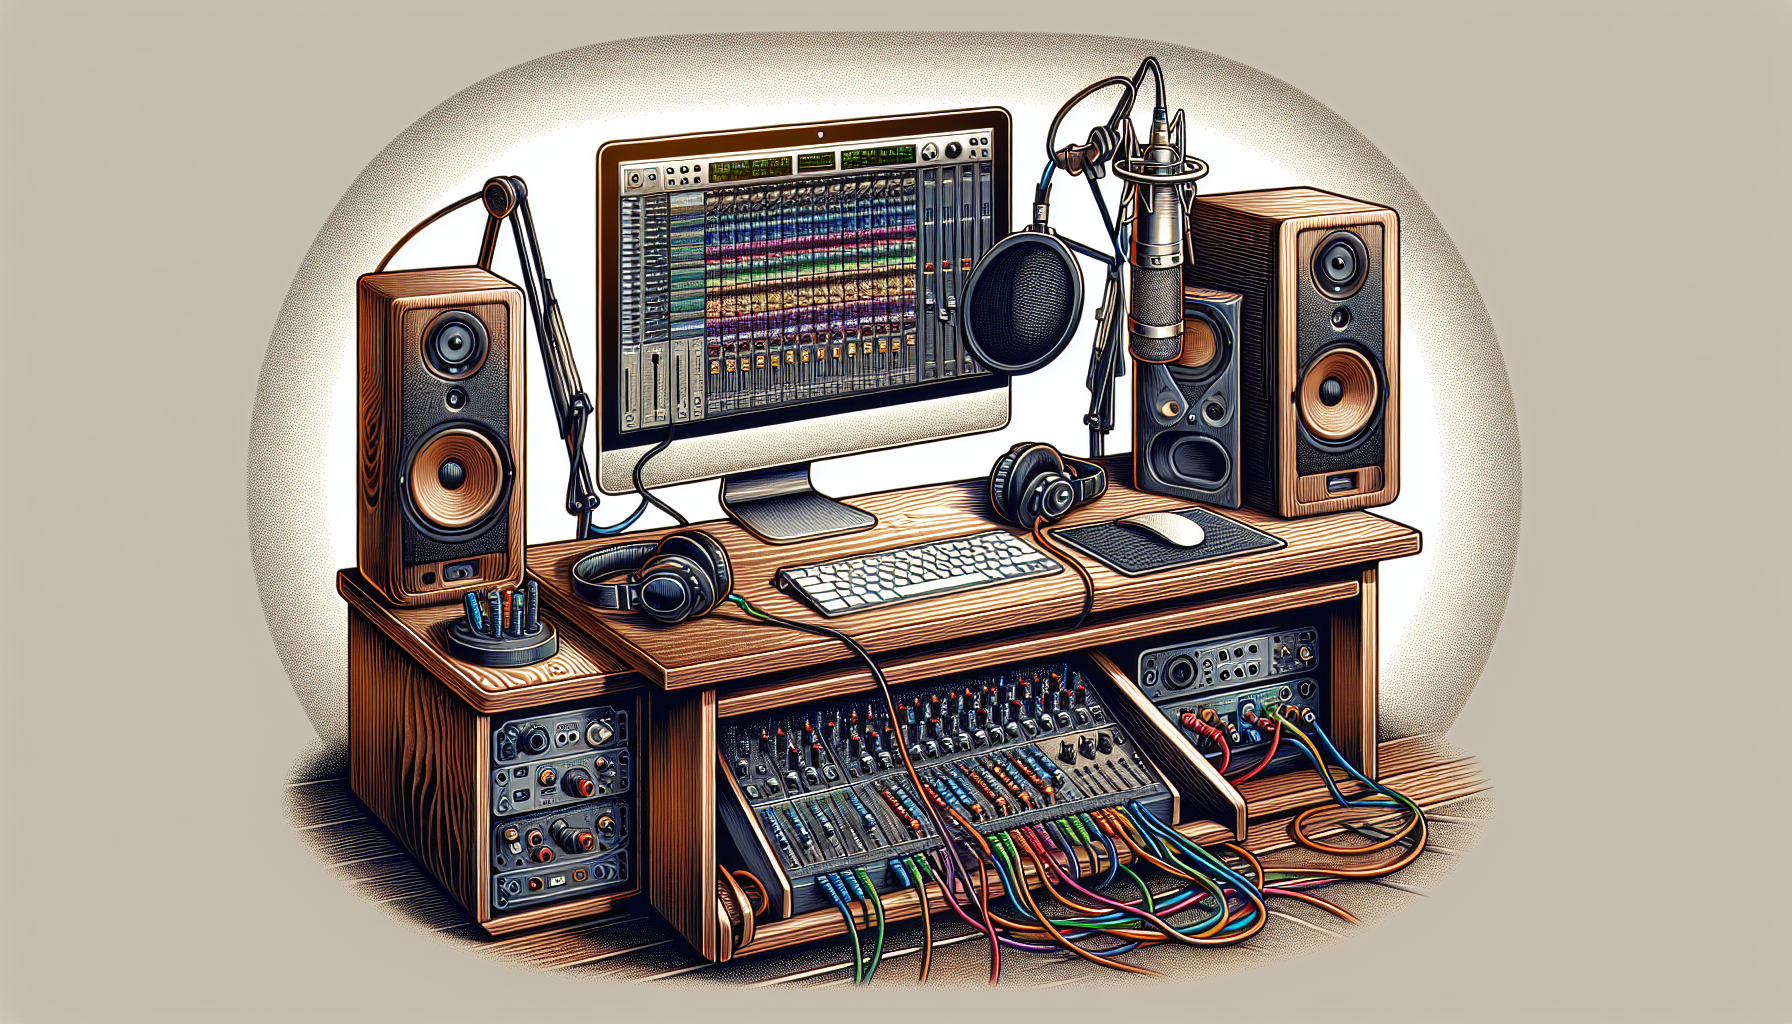
Selecting an Audio Interface
The audio interface is a crucial component of your home studio. It acts as the translator between your analog instruments and digital recording software, converting analog sounds into digital signals and vice versa. This allows you to record instruments, vocals, and other audio sources directly into your computer.
Key Considerations When Choosing an Audio Interface
| 💰 Budget | While high-end audio interfaces can improve sound quality, balance your budget with your needs. Many affordable options offer excellent quality. |
| ⚡ Phantom Power | Essential for condenser microphones that require external power. Ensure the audio interface provides phantom power if using condenser mics. |
| 🎛️ Quality and Latency | Look for high-quality preamps and low latency. High-quality preamps ensure clean audio signals, while low latency reduces delays during real-time monitoring and recording. |
| 🎙️ Number of Inputs/Outputs | Determine the number of instruments or microphones you'll record simultaneously. More inputs are needed for bands, while solo recording requires fewer. Consider the number of outputs for monitoring purposes. |
Recommended Audio Interfaces
| Audio Interface | Focusrite Scarlett 2i2 | Universal Audio Apollo Twin |
|---|---|---|
| 🎛️ Description | A popular choice for beginners and professionals, offering two high-quality preamps, phantom power, and a user-friendly interface. | Known for high-quality preamps and onboard DSP for real-time effects processing, offering a step up for professional-level quality. |
| 💰 Price | Affordable, making it an excellent entry-level option. | More expensive but provides superior sound quality and additional features. |
| 🎯 Best For | Solo musicians, podcasters, and small home studios. | Professionals or those looking for higher-quality sound and real-time effects. |
| 🔗 Learn More | Focusrite Scarlett 2i2 | Universal Audio Apollo Twin |
Studio Monitors vs. Headphones
When it comes to mixing your music, studio monitors and headphones both play a critical role in how you perceive sound. Monitors provide an uncolored soundstage for accurate mixing, unlike consumer speakers that may embellish certain frequencies.
Headphones, particularly open-back for mixing and closed-back for recording, offer a personal sound experience. If your budget hits a high note, go for monitors; if not, quality studio headphones can still conduct your mix to perfection.
Acquiring Microphones on a Budget
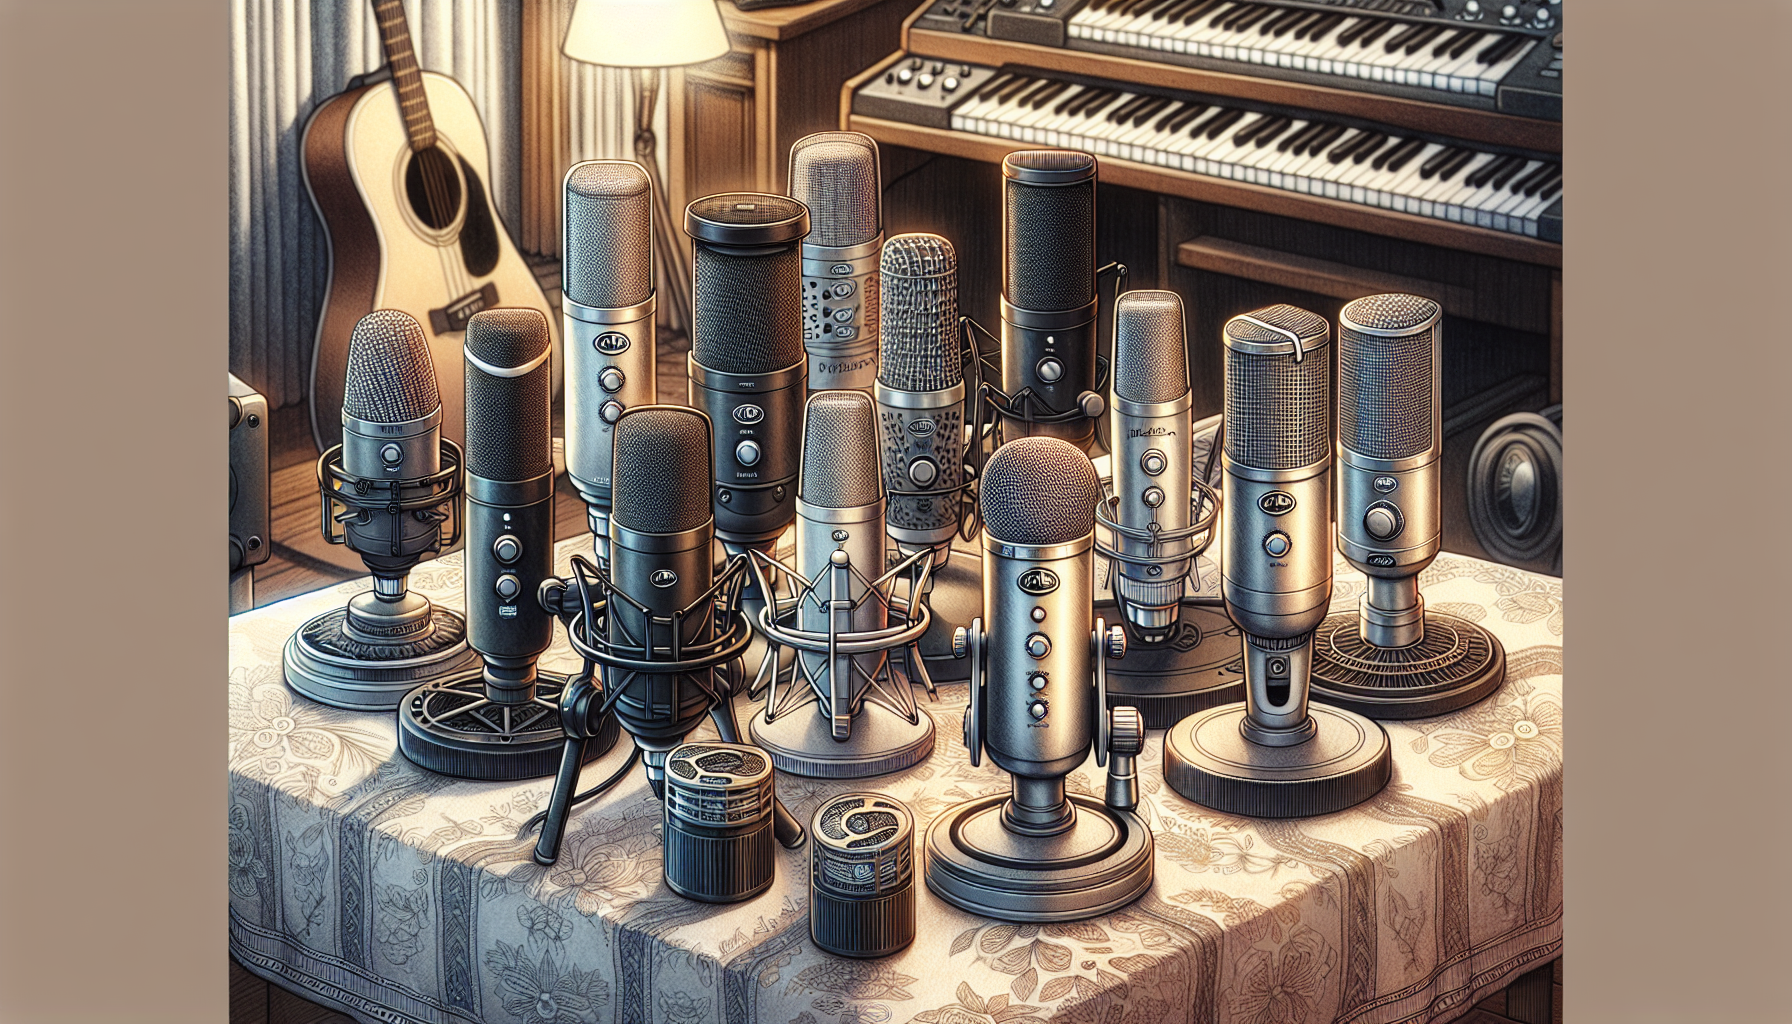
Microphones are the vocal cords of your studio, and choosing the right ones for recording vocals doesn’t have to be a solo act. Versatile mics like the Audio-Technica AT2020 or the Rode NT1-A capture a range of sounds from the delicate timbre of vocals to the robust tones of a drum kit.
When building your home recording studio on a budget, look for microphones that offer flexibility without demanding an encore of your savings.
Dynamic vs. Condenser Mics
Dynamic mics, rugged and reliable, are the roadies of the microphone world, perfect for live gigs and rehearsal jams. Condenser mics, on the other hand, are the studio virtuosos, sensitive and nuanced, ideal for capturing the intricate details of your sound.
While condenser mics might strike a higher note on your budget, their sound quality could be worth the investment for a studio setting. Consider starting with a dynamic mic and progressing to a condenser as your recording repertoire grows.
| Feature | Dynamic Microphones | Condenser Microphones |
|---|---|---|
| Construction | Rugged and durable | More delicate, requires careful handling |
| Sound Sensitivity | Less sensitive, good for loud sounds | Highly sensitive, captures detailed sounds |
| Frequency Response | Limited, suited for live performances | Wide, ideal for studio recordings |
| Power Requirement | None | Requires phantom power |
| Applications | Live sound, stage performances | Studio recording, vocals, acoustic instruments |
| Price Range | Generally affordable | Can be expensive |
| Examples | Shure SM58, Sennheiser e935 | Audio-Technica AT2020, Rode NT1-A |
Mic Accessories You Can't Skip
Don’t let pesky plosives or shaky stands disrupt your recording sessions. Invest in XLR cables for pristine audio transmission, pop filters to smooth out those explosive ‘P’s and ‘B’s, and a sturdy microphone stand to hold your mic steady. These accessories may seem optional, but they’re essential for a harmonious recording.
MIDI Controllers and Keyboards
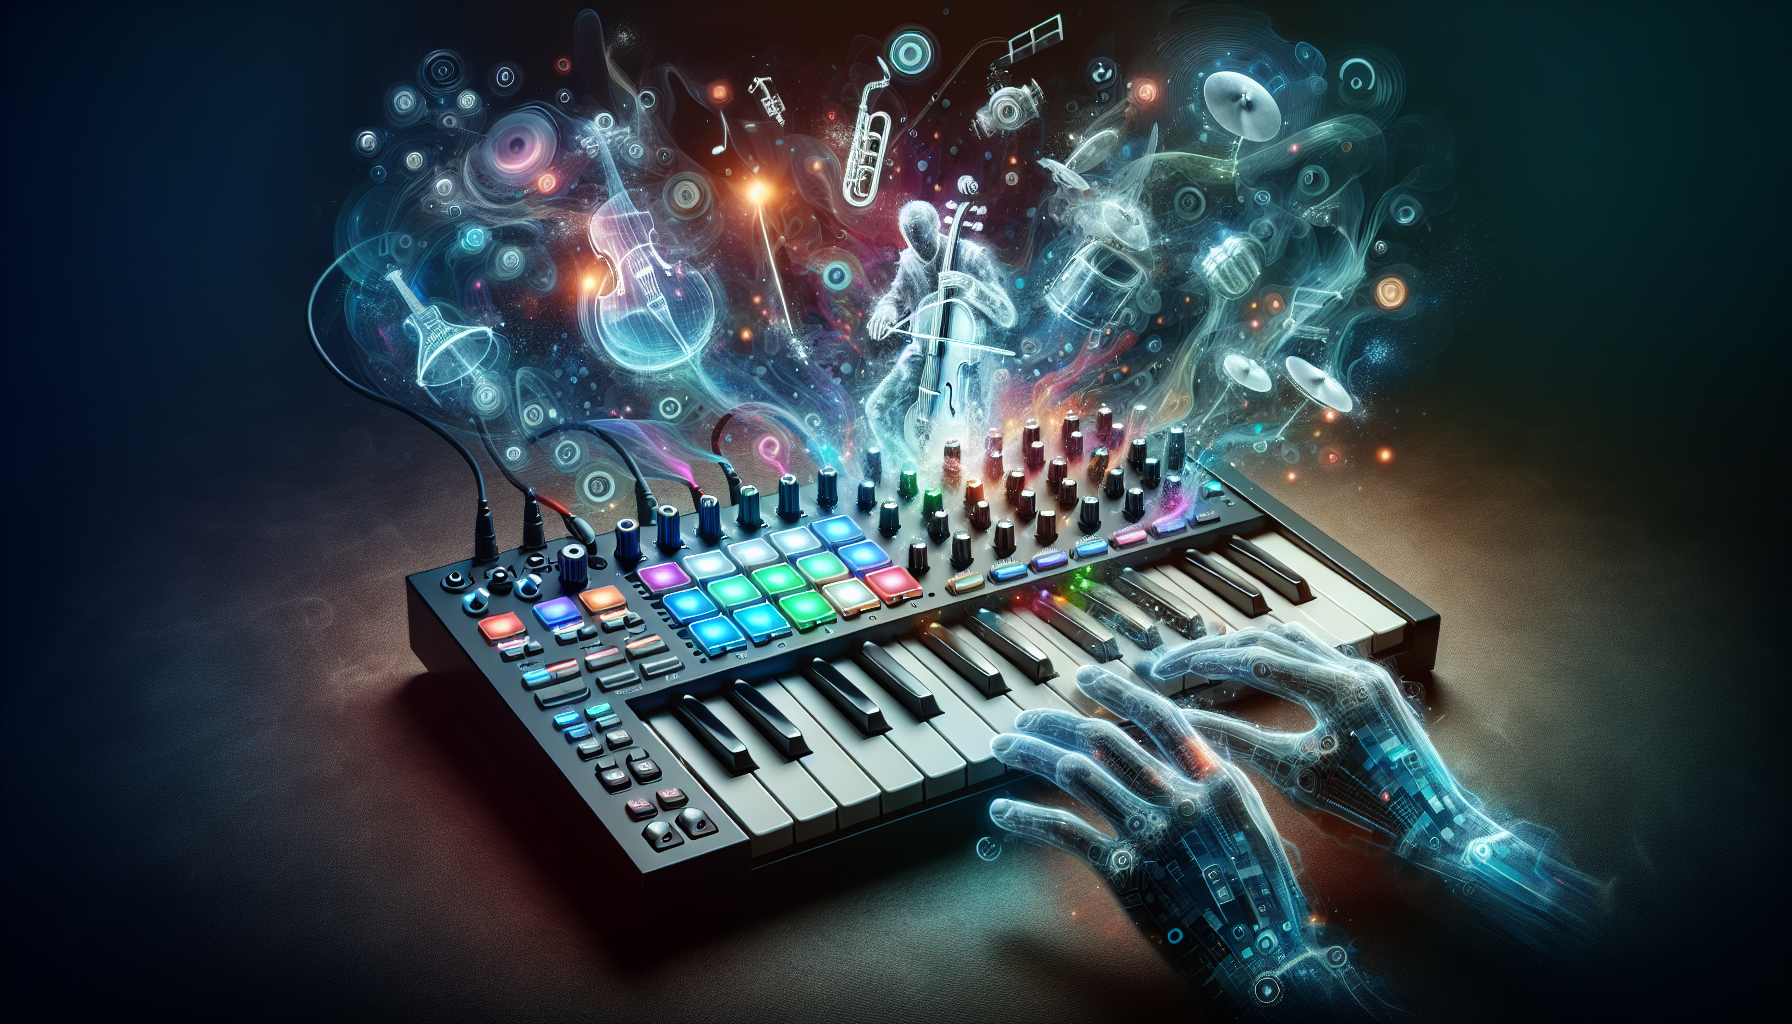
In the symphony of your home studio, MIDI controllers and keyboards are the versatile instrumentalists, adept at playing any part from lush strings to thumping bass lines. Whether you’re orchestrating complex compositions or laying down groovy beats, these tools offer a tactile way to breathe life into your virtual instruments and take command of your DAW.
The Versatility of MIDI Keyboards
MIDI keyboards are the multi-instrumentalists of your studio band, allowing you to:
- Perform and record a vast array of sounds without needing an orchestra at your disposal
- Use assignable controls and compatibility with most DAWs
- Expand your sonic palette in a cost-effective way.
Plus, their plug-and-play simplicity means you can jump straight into composing, no technical setup required.
When to Invest in a MIDI Controller
Consider investing in a MIDI controller when your music production demands more nuanced control over virtual instruments or when you need to trigger samples on the fly. These controllers come in various forms, such as keyboards with weighted keys for an authentic piano feel or pad controllers for a tactile beat-making experience. Here are some other examples when it would be handy to get a MIDI contoller:
- If you use software instruments like synthesizers, pianos, or orchestral sounds, a MIDI keyboard can provide a more expressive and intuitive way to play and control these sounds compared to a computer keyboard or mouse.
- For live electronic performances, a MIDI controller can be essential. It allows you to manipulate effects, trigger loops, and control virtual instruments in real time, adding a dynamic element to your performances.
- If you frequently compose melodies or harmonies, a MIDI keyboard with weighted keys may be more beneficial.
- If your focus is on electronic music or hip-hop, a pad controller might be more suitable.
Assess your music production style and project requirements to determine if a MIDI controller with extra features, like aftertouch or DAW integration, strikes a chord with your needs.
Still not sure if you need a MIDI Controller?
Do You Need a MIDI Controller? body { font-family: Arial, sans-serif; margin: 20px; background-color: #f9f9f9; } .step-by-step { background-color: #fff; border: 1px solid #ddd; border-radius: 8px; padding: 20px; box-shadow: 0 0 10px rgba(0, 0, 0, 0.1); margin-bottom: 20px; } .step-by-step h2 { color: #007bff; margin-bottom: 20px; text-align: center; } .step { display: flex; align-items: flex-start; margin-bottom: 20px; } .step .icon { font-size: 24px; color: #007bff; margin-right: 15px; margin-top: 5px; } .step p { margin: 0; }
Do You Need a MIDI Controller?
| Step 1: Evaluate Your Use of Software Instruments Do you frequently use software instruments like synthesizers, pianos, or orchestral sounds? If yes, a MIDI keyboard can provide a more expressive and intuitive way to play and control these sounds compared to a computer keyboard or mouse. |
| Step 2: Consider Live Performances Are you involved in live electronic performances? A MIDI controller can be essential. It allows you to manipulate effects, trigger loops, and control virtual instruments in real time, adding a dynamic element to your performances. |
| Step 3: Frequency of Composing Melodies or Harmonies Do you frequently compose melodies or harmonies? If so, a MIDI keyboard with weighted keys may be more beneficial for providing a realistic piano feel. |
| Step 4: Genre of Music Is your focus on electronic music or hip-hop? If yes, a pad controller might be more suitable for beat-making and triggering samples. |
| Step 5: Assess Your Music Production Style Consider your music production style and project requirements. Determine if a MIDI controller with extra features like aftertouch or DAW integration strikes a chord with your needs. |
Room Acoustics and Sound Isolation
Treating your room’s acoustics might not be the most glamorous part of setting up a home studio, but it’s crucial for ensuring your recordings hit the right notes. A room with good acoustics and sound isolation lets you hear your music as it truly is, without interference from echoes and noise, allowing you to make precise adjustments to your mix.
It’s the difference between a muddy sound and a crystal-clear audio quality masterpiece.
DIY Acoustic Treatment
You don’t need to spend a fortune to get your room sounding right, whether you’re recording vocals or an acoustic guitar. With a little DIY spirit, you can use household items or build your own acoustic panels to tame those wild frequencies. Materials like rigid fiberglass or even thick blankets can help absorb sound and reduce reflections, giving you a truer sense of your mix’s sound quality without breaking the bank. Here’s a step-by-step guide to DIY acoustic treatment using affordable materials and some DIY spirit.
| Materials You'll Need | - Rigid Fiberglass or Rockwool Panels: Owens Corning 703 or Rockwool Safe'n'Sound for effective sound absorption. - Fabric: Use breathable fabric like burlap or cotton to cover the panels. - Wood for Frames: Pine wood is ideal for building frames. - Thick Blankets or Moving Pads: Temporarily absorb sound and reduce reflections. |
| Tools | - Staple Gun - Screws - Saw - Measuring Tape - Gloves: To handle fiberglass safely. |
| Step-by-Step Instructions | 1. Measure and Plan: Determine panel size and number (common size: 2x4 feet). 2. Build the Frames: Cut and assemble wood into a rectangular frame using screws. 3. Insert the Absorption Material: Fit the fiberglass or Rockwool into the frame. 4. Cover with Fabric: Stretch and staple fabric over the frame. 5. Mount the Panels: Use picture hangers or brackets to secure panels on walls. |
| Additional Tips | - Corner Bass Traps: Create triangular frames filled with Rockwool or fiberglass. - Temporary Solutions: Use thick blankets or moving pads by hanging them on walls. |
| Why These Materials Work | - Rigid Fiberglass and Rockwool: High NRC ratings, effective at absorbing sound across various frequencies. - Breathable Fabric: Allows sound waves to pass through, reducing reflections. - Thick Blankets/Moving Pads: Quick, affordable sound absorption, though less effective than professional panels. |
Minimizing Unwanted Noise
The right recording space is like a quiet sanctuary for your music. It’s not just about the size or the gear; it’s about minimizing noise interference to keep your recordings clean. Choose a space where you can control the acoustics and keep out unwanted noise, ensuring that when you hit record, what you hear is exactly what you intend to capture.
Optimizing Your Computer for Music Production
Your computer is the backbone of your home studio, where you can produce music and bring all your musical ideas to life. While high-end specs can be tempting, remember that even the most affordable computers today come with enough power to get you started. Optimizing your existing setup can keep your music flowing smoothly, without the need for a major upgrade.
Computer Specs That Matter
For a computer that can keep up with your creative pace, aim for:
- at least 16GB of RAM
- at least a Core i5 processor(8th generation minimum)
- 1TB or more of storage
- an SSD for your OS drive to speed up loading times
While a dedicated GPU isn’t essential for audio, it can be a nice addition if you’re dabbling in video.
Whether you choose a Mac or a PC, pick what feels like an instrument you can play well.
Enhancing Computer Performance
Keep your system running in top form by adjusting performance parameters and shutting down unnecessary background apps. Managing USB ports to ensure a steady connection to your audio gear can prevent hiccups during recording sessions.
Regular maintenance like defragmenting your drives (for non-SSD storage) can also keep your system humming along, especially when you’re dealing with large audio files.
Storage Solutions for Audio Files

Space is as valuable as studio time, that’s why you should consider dedicated external storage for your audio files and sample libraries; it’s like owning a vast musical archive. It’s about:
- keeping your digital workspace organized and efficient
- making sure that your masterpieces are always within reach
- ensuring that your system isn’t bogged down by an overload of files.
Managing Your Sample Libraries
A well-organized sample library is like a well-tuned instrument: it responds well and saves you time. Use descriptive names and consistent folder structures to keep your samples at your fingertips.
Remember, a library that’s easy to navigate can inspire creativity and streamline your workflow, so take the time to sort it out.
Final Touches: Cables, Stands, and More
Your home studio setup is nearly complete, but don’t overlook the unsung heroes: cables, stands, and other accessories that tie everything together. Investing in high-quality versions of these essentials can save you headaches and money in the long run, as they tend to last longer and perform better.
It’s the final step in ensuring that your studio is not just a collection of gear, but a finely-tuned instrument in itself.
Quality vs. Quantity in Studio Accessories
When it comes to the small details, remember that quality trumps quantity. Investing in durable stands and high-quality XLR cables ensures a stable and noise-free setup. Think of these items as the fine polish on your studio—the better the quality, the less often you’ll need to replace them.
It’s about creating a comfortable and ergonomic environment that allows you to focus on your music, not on equipment that’s falling apart.
Smart Accessory Purchases
Be savvy with your studio accessory purchases. Here are some tips:
- Keep an eye out for sales
- Subscribe to different newsletters for the latest deals
- Don’t shy away from second-hand gear that’s still in good shape
- Look for accessories like headphones that serve multiple purposes
These strategies can help you make wise investments in your studio accessories.
Remember, buying smarter, not necessarily more, leads to a studio that’s both high-quality and cost-effective.
Summary
As we hit the final note on our guide to building a home recording studio on a budget, let’s recap the melody of key points. Start with a well-planned budget, invest in essential gear like a good DAW, a reliable audio interface, versatile microphones, and consider MIDI controllers for playing virtual instruments. Treat your room acoustics, optimize your computer, and manage your sample libraries efficiently. With quality accessories to tie it all together, your home studio will be ready to record your musical masterpieces. Now, take these harmonious tips and compose the studio space where your creativity can truly sing. But did you know you can create music with one click without any equipment?
Home Recording Studio Budget
| Item | Approximate Price (USD) |
|---|---|
| Computer | $500 |
| Digital Audio Workstation (DAW) | $0 (GarageBand) |
| Audio Interface | $120 (Focusrite Scarlett 2i2) |
| Headphones | $100 |
| Microphone | $99 (Audio-Technica AT2020) |
| XLR Cables | $20 |
| Pop Filter | $15 |
| Microphone Stand | $20 |
| MIDI Controller | $100 |
| DIY Equipment (Fiberglass, Fabric, Wood, Blankets, Tools) | $150 |
| Total | $1,124 |
Frequently Asked Questions
All you need to know about Lalals.
What's the minimum budget I need to start a home recording studio?You can start a basic home recording studio for between $500 and $1,500. This budget should cover the essential equipment you need. |
Can I use my current computer for music production, or do I need a new one?Yes, you can use your current computer for music production as long as it meets the minimum requirements like having at least 16GB of RAM, a Core i5 processor, and 1TB of storage space for a smooth experience. |
Do I need both studio monitors and headphones?Yes, having both studio monitors and headphones gives you the best of both worlds for mixing and production, but you can start with one and then gradually invest in the other as you progress. |
Should I choose a MIDI keyboard or a MIDI pad controller?It depends on your production style. If you focus on melodies and chords, go for a MIDI keyboard. If you’re more into beat-making and sample manipulation, consider a MIDI pad controller. |
Is acoustic treatment really necessary for my home studio?Yes, acoustic treatment is essential for accurate sound in your home studio. DIY solutions can be effective and budget-friendly. |
Convert Your Voice with AI
Make your voice sound like those of famous arists.
Join Lalals and use our hyper-realistic voice converter now.